
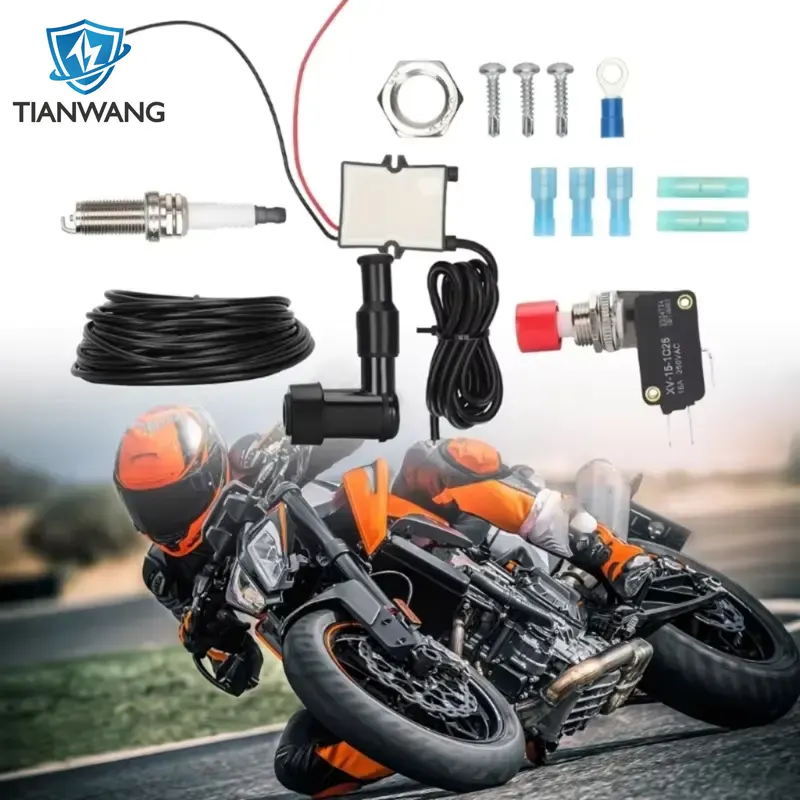
Exhaust Flame Thrower kit Introduction.
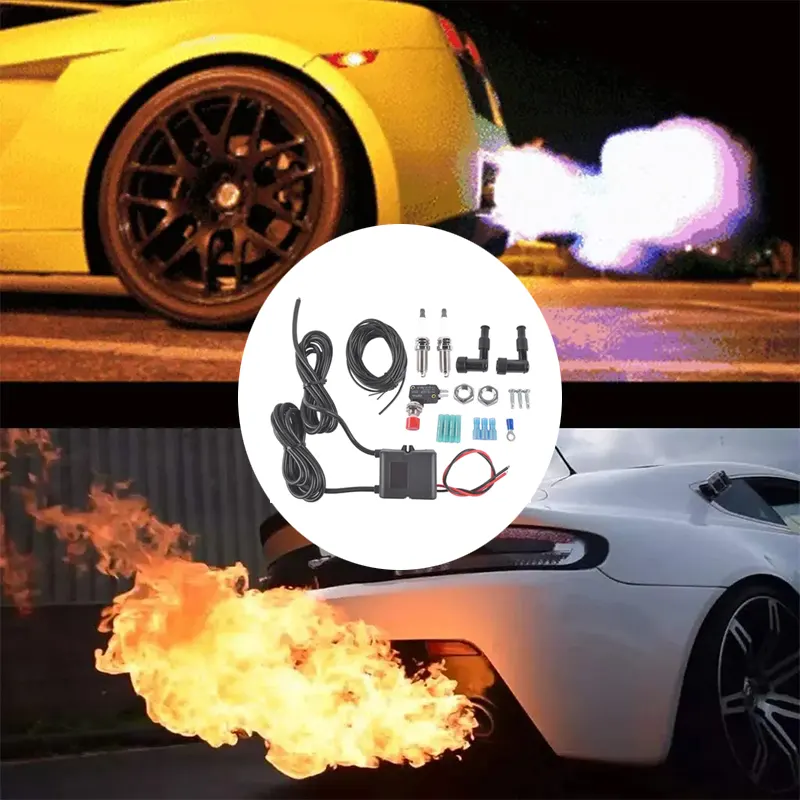
This exhaust flame thrower kit works with a simple press of a button. It cuts power to the ignition coils, sends a spark to the plugs in your exhaust, and ignites unburned fuel. You get a blue-orange blowtorch flame out the back. Off-road and show use only.
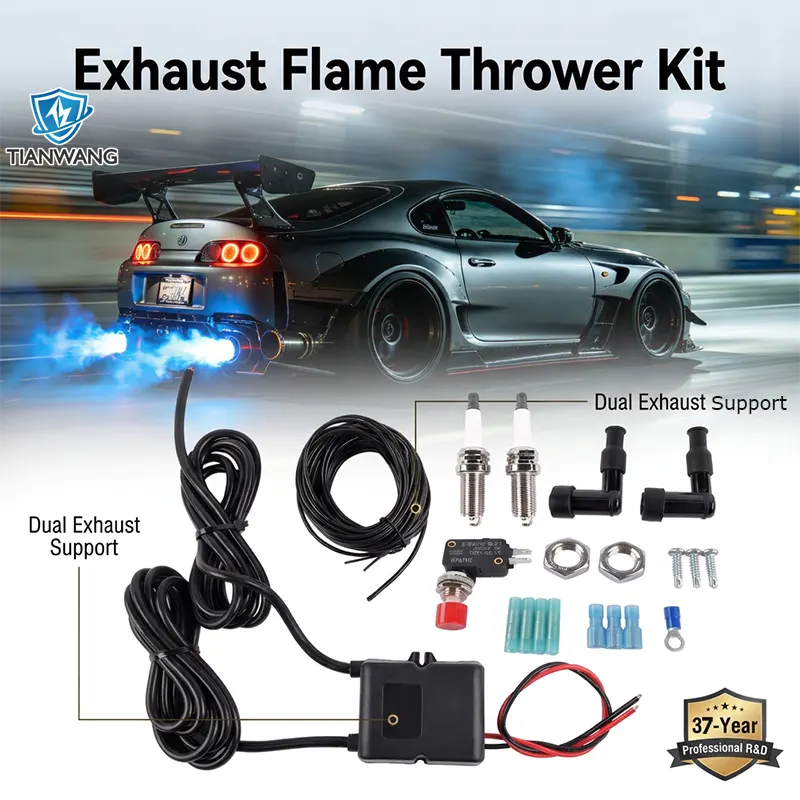
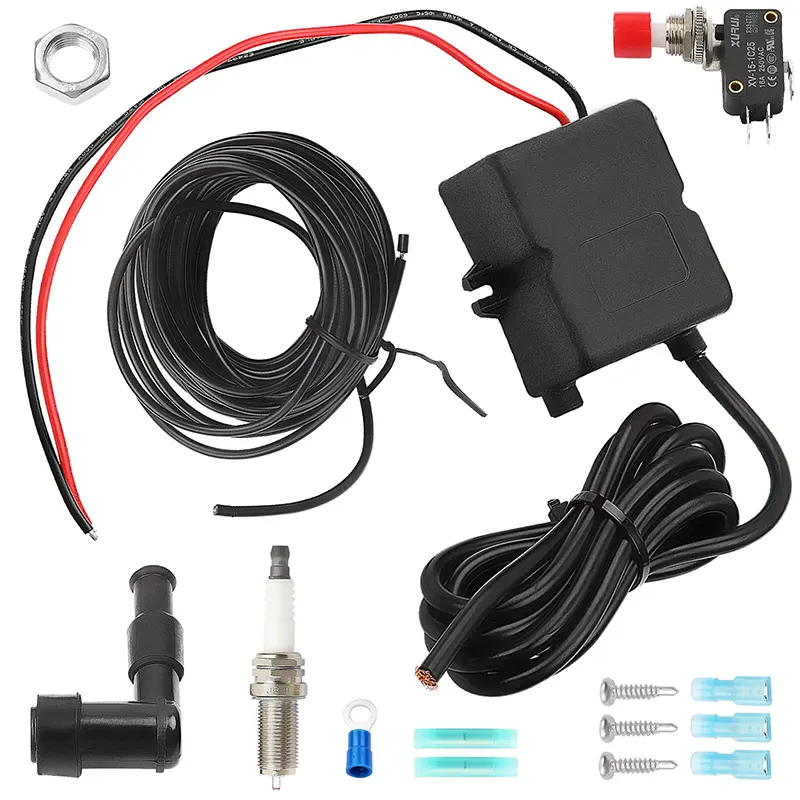
What’s in the Box
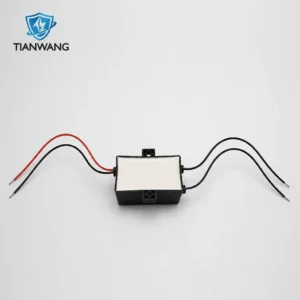
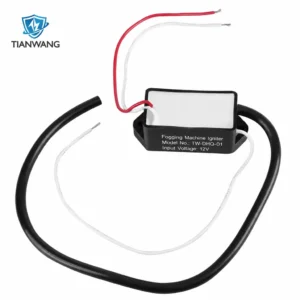
Solid-state control module
Momentary push button with chrome ring
2 spark plugs (pre-gapped at 1/8″)
2 bung nuts + 2 spark plug cables with boots
16 gauge primary wire, self-tapping screws, butt connectors, spade connectors
This exhaust flame thrower kit is built around a solid-state control module that delivers a clean spark every time. No random firing. No ECU interference when wired correctly. Whether you’re running it on a car, truck, or motorcycle, the install is straightforward if you can drill, weld, and splice a wire. It’s not a toy – it’s a real flame system for off-road and show use.
Why Choose This Exhaust Flame Thrower Kit
Solid-state control, no random popping
The control module is solid-state. No moving parts. Just a clean, consistent spark every time you hit the button. Wire it right and it won’t mess with your factory electronics.
Button activation, plain and simple
Press and hold. Release to stop. No remote to lose, no batteries to replace, no signal dropouts. Just a direct mechanical connection that works every single time.
Everything in one box
Open it up and you’ve got everything. Control box, spark plugs, bung nuts, cables, button, wire, connectors, screws. No extra trips to the hardware store.
Exhaust Flame Thrower kit Specs & Compatibility
| Item | Details |
| Voltage | 12V DC |
| Activation | Momentary push button (3-pole) |
| Fits | Cars, trucks, motorcycles |
| Exhaust | Single or dual pipes |
| Hole size to drill | 9/16″ |
| Spark plug gap | 1/8″ (pre-gapped) |
| Recommended mount distance | Within 4 feet of exhaust tip |
| Use | Off-road / show only. Not for public roads. |
Compatibility note: Works on most 12V vehicles. Best results on straight-through exhaust or modified systems without catalytic converters. If you still have cats, hollow them out and you’re good to go.
Learn more about our ignition systems → | About our 37-year history →
Exhaust Flame Thrower Kit Installation Overview
This is not plug-and-play. You’ll be drilling a hole in your exhaust, welding or threading in a bung nut, and cutting into a 12V ignition wire. If you’re not comfortable with that, find a shop that is.
Step 1 – Drill 9/16″ hole
8–10 inches from the exhaust tip. Motorcycles: around 8″. Cars and trucks: around 10″. Can’t get that far? Get as close as you can. 4–6 inches will usually work, but 8–10 is better.
Step 2 – Install the bung nut
Weld it over the hole, or thread it from inside the pipe. If your arm won’t fit, use a long box-end wrench with tape to hold the nut. Thread the spark plug in and tighten it down. Use high-temp Loctite. Vibration will loosen it over time – check it now and then.
Step 3 – Mount the control module
Keep it within 4 feet of the exhaust tip. Cars: trunk or under the rear. Motorcycles: under the seat, in a bag, or on the frame. Need to go further? You’ll need extra low-profile flame cable (sold separately).
Step 4 – Connect spark plug cables
Shorten the cables if needed. Screw the boots onto the cables – turn clockwise 4–5 times while pushing until it bottoms out.
Exhaust Flame Thrower Kit Installation Overview
Step 5 – Ground the module
Black wire to a solid chassis ground. Use the self-tapping screws in the kit. A bad ground will give you problems – get it right the first time.
Step 6 – Mount the push button
Drill 1/2″ hole somewhere reachable from the driver’s seat. Dash or console works for cars. Motorcycles: near the seat, or get creative. Want a handlebar button? Contact us for a special wiring diagram with a relay.
Step 7 – Find the ignition coil 12V wire
Find the wire that gets 12V when the key is on. Use a test light or multimeter. A wiring diagram for your vehicle will save you hours. Harley-Davidson tip: most use yellow with green stripe. Some fuse boxes have a fuse labeled “ignition coils” – find that wire color in the harness. If you have an MSD box, cut the red 12V wire going to the box, not the wire to the coil.
Step 8 – Cut and extend
Cut the 12V coil wire in half. Extend both ends with the 16 gauge wire supplied. Run them to the button.
Step 9 – Wire the button
Coil-side wire (no voltage when key is off) → top terminal (closest to the red button)
12V hot wire (key on) → bottom terminal
Use the blue female spade connectors. Crimp them tight.
Full video guide and wiring diagram included in the box.
Testing Car Flame Thrower Kit
Test 1 – Key on, engine off
Press the button. You should see spark at the plugs in the exhaust pipe.
No spark? Check 12V at the red wire on the module. Check ground on the black wire.
Test 2 – Engine idling
Press the button. The engine should die completely.
If it stays running, you cut the wrong wire. Go back to Step 7.
How to Shoot Flames
1.Warm up the engine fully. Cold exhaust = condensation = fouled plugs = no spark.
2.Rev it to about 3/4 throttle a few times.
3.At the top of a rev, press and hold the button.
4.Immediately floor it.
5.The engine will start to die – this is normal.
6.Let go of the button just before the engine hits idle RPM.
7.Let off the gas.
Takes practice. Every car behaves differently. Don’t get frustrated if it doesn’t work the first time.
Backfiring? Check for exhaust leaks first. No leaks? Your mufflers probably have too many chambers or baffles. Swap to a glass pack or a more open muffler with fewer restrictions.
FAQ
Q: Does this damage my car?
A: No. Wire it correctly and it won’t interfere with your factory electronics. The module is independent – it just interrupts the coil signal and sends spark to the exhaust plugs.
Q: Where can I actually use this?
A: Off-road and show use only. Not on public streets, not on highways, not in parking lots. Closed courses, private property, car shows – that’s it.
Q: Is installation hard? Do I need to drill?
A: Yes, you drill a 9/16″ hole in your exhaust. Yes, you weld or thread in a bung nut. Yes, you cut and splice one wire. It’s not hard, but it’s not for everyone. Full video instructions are included.
Q: How long does it last?
A: The solid-state module has no moving parts to wear out. The spark plugs are standard automotive parts – replace them like you would any plug. Keep the bung nuts tight (use Loctite) and it’ll last.
Q: Will it fit my vehicle?
A: Most 12V cars, trucks, and motorcycles. Single or dual exhaust. Best results on straight-through or hollowed-out cats. If you’re not sure, send us a photo of your exhaust setup and we’ll tell you.
Why We Build These
We’ve been in the ignition business for 37 years. Not the marketing kind – the “we actually know how spark works” kind. Most kits out there use cheap components that fail in weeks. This one uses a solid-state control board with overcurrent protection, paired with automotive-grade spark plugs and cables. It’s built to work, not to be the cheapest thing on the shelf.
Order ships in 1–3 business days. 1-year warranty. Tech support via WhatsApp – real humans, not bots.
Safety Warnings
Off-road and show use only. Never on public roads.
Never use in a garage or enclosed space.
Never within 500 feet of gas stations or fuel containers.
Never with anyone standing behind the vehicle.
Keep a fire extinguisher nearby at all times.
Contact us
Reviews
There are no reviews yet.